I’m learning how to add highlights in Photoshop. This is the first time I’ve tried it and I wanted to document it here for future reference.
When I started writing stories for the Synthmark project the plan was to use images by other artists or buying stock artwork. I bought a couple of graphics and while editing them I remembered how much I love working in Photoshop.
That’s when I created the Judas Crook cover art.
I’m now pushing my photoshop skills so I can create better images and I want to learn how to use lighting in my images.
Big thanks to the videos by Benny Productions. I’ve been following Benny’s YouTube channel since the start of lockdown and his lighting is unreal.
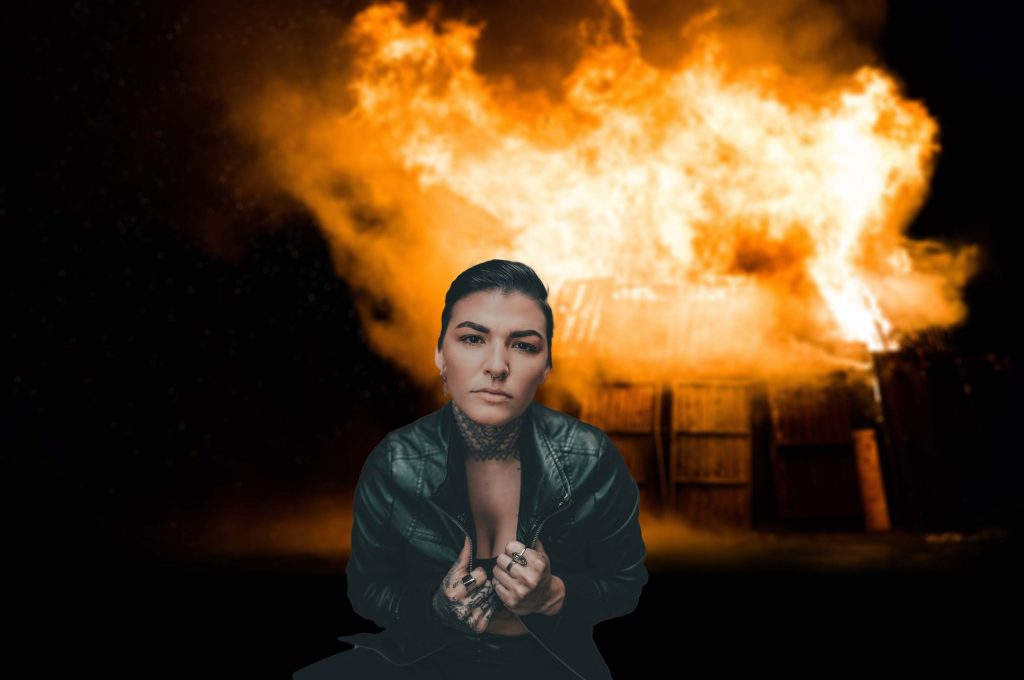
Here’s my image without the highlights

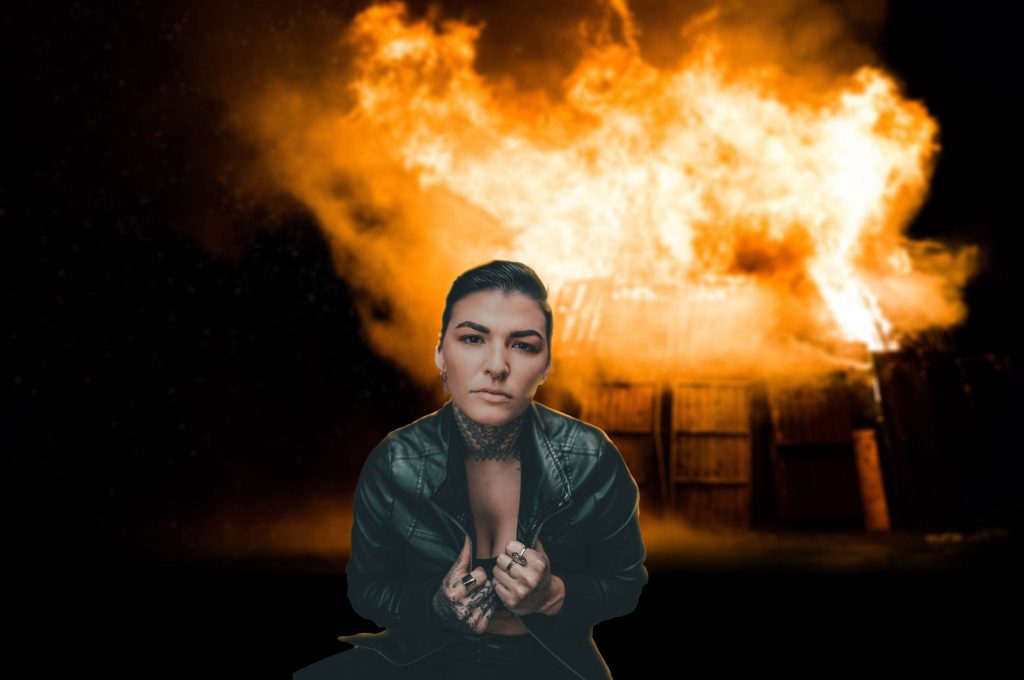
and here is the same image but this time with the highlights added.

I’m really happy with the result of the tutorial though I need to better match the light tone of the character and the background.
In the first image it’s quite clear to see the woman has been added to the picture. The light from the fire doesn’t interact with her. But in the second image the light from the fire is interacting with the woman’s shilloutte. So this gives the illusion that she was in the image when the photo was taken.
I still have a lot to learn about lighting and my brush strokes but I’m really happy with this.
The depth of field added to the building in the background is the icing on the cake. I also learnt that from Benny.
Still lots to learn and improve.
